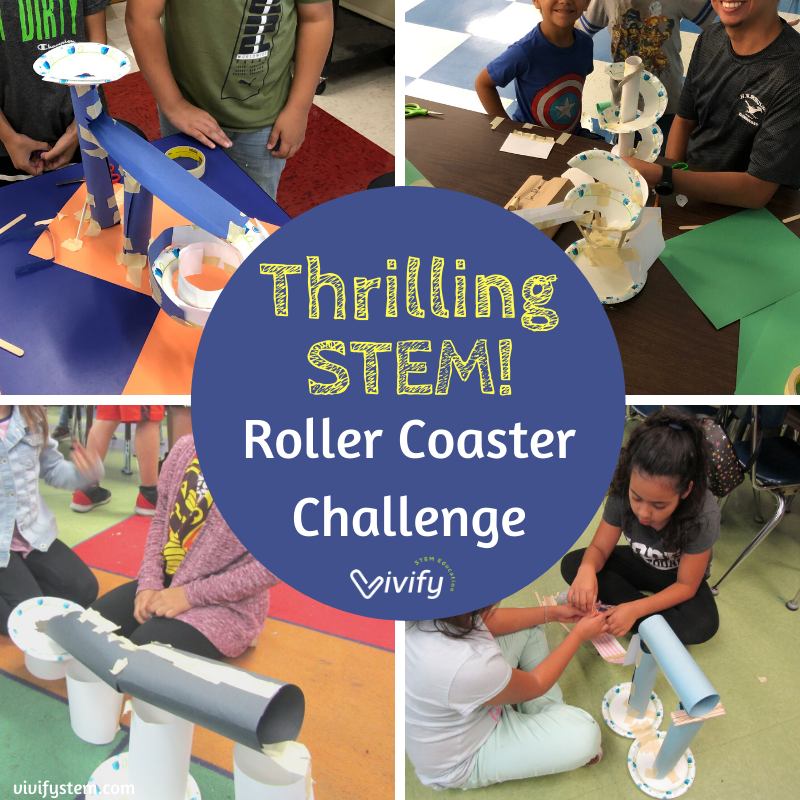
Thrilling STEM Activities for Kids: Roller Coaster Challenge
Originally Posted: October 24, 2019
Updated: February 2024
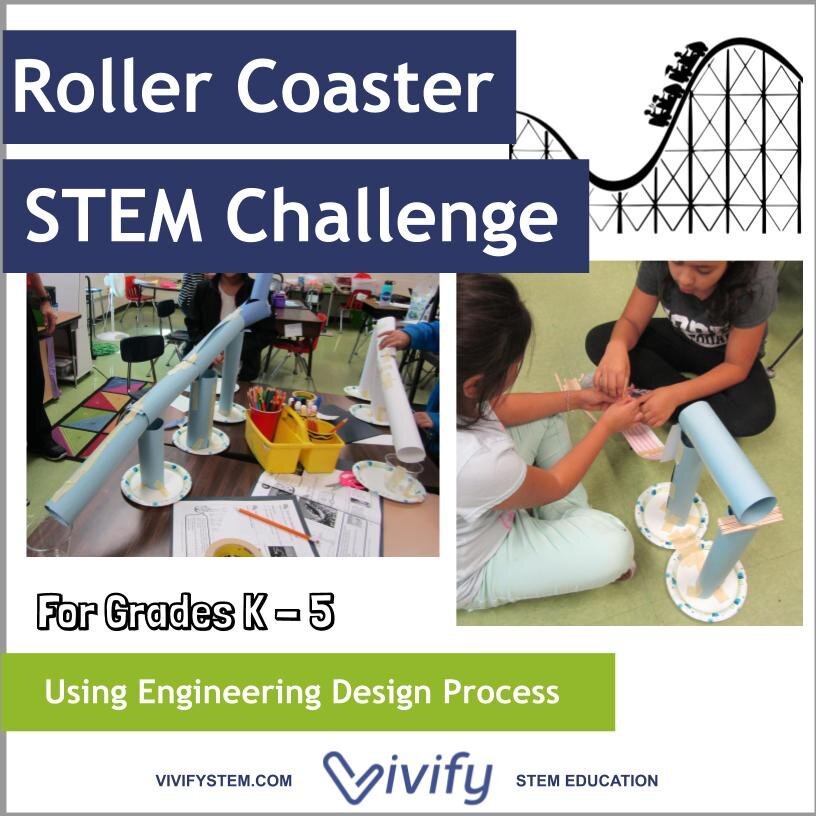
Let’s talk about roller coasters! Make the stimulating challenge of creating a roller coaster part of your next STEM (science, technology, engineering and math) project. By using the engineering design process, student teams are tasked with creating a thrilling ride! Students learn about the science of roller coasters, including various forms of energy, and then using common materials such as craft sticks, paper and tape, students design a track for a ping pong ball to land safely in a cup at the bottom. This activity is definitely one of my new favorite STEM activities for kids!
What age is best for this challenge? I’ve introduced this project to students ranging from kindergarten through the eighth grade. All the classes loved it! This challenge is also a regular part of our STEM Family Nights, and believe me, entire families will be engaged in building the tallest roller coaster, competing with other family-led teams.
How long does the challenge take to complete? We used this activity during an hour-long class, and students were begging for more time! We recommend at least a 90-minute session to have enough time for each step of the engineering design process including reflection and sharing at the end.
Step 1: What to Discuss Beforehand
For this activity, we talked about civil engineering as a STEM career. Civil engineers are engineers who design structures, from bridges and buildings to train tracks and roller coasters! I also showed videos (more resources below) of different types of roller coasters to help them brainstorm potential design ideas.
Real-World roller coasters:
STEM Career connection:

Check out our Roller Coaster STEM lessons for student guides to STEM career connections.
Step 2: Explain the Mission
Each team will be given the mission of designing a roller coaster that will carry their ping pong ball a distance of 1 foot, ending with a glorious land in a cup. Keep increasing this distance or require multiple turns as they figure it out! In STEM activities, we start with a specific goal for all students to feel success, but we keep the challenge open-ended to allow for differentiation based on student ability.
Step 3: Brainstorming
This is a great time to split into teams. The ideal size is three students per team. We recommend no more than four to a team, as someone will be left out.
Before building, show students available materials and have them brainstorm designs for their roller coaster. Our guide includes suggestions on amount per group, but this will be dictated by your time constraints and student level.
Supplies You’ll Need:
9 oz cup
Ping pong ball
Construction paper
Small paper plates
Craft Sticks
Masking tape
Step 4: Design and Build
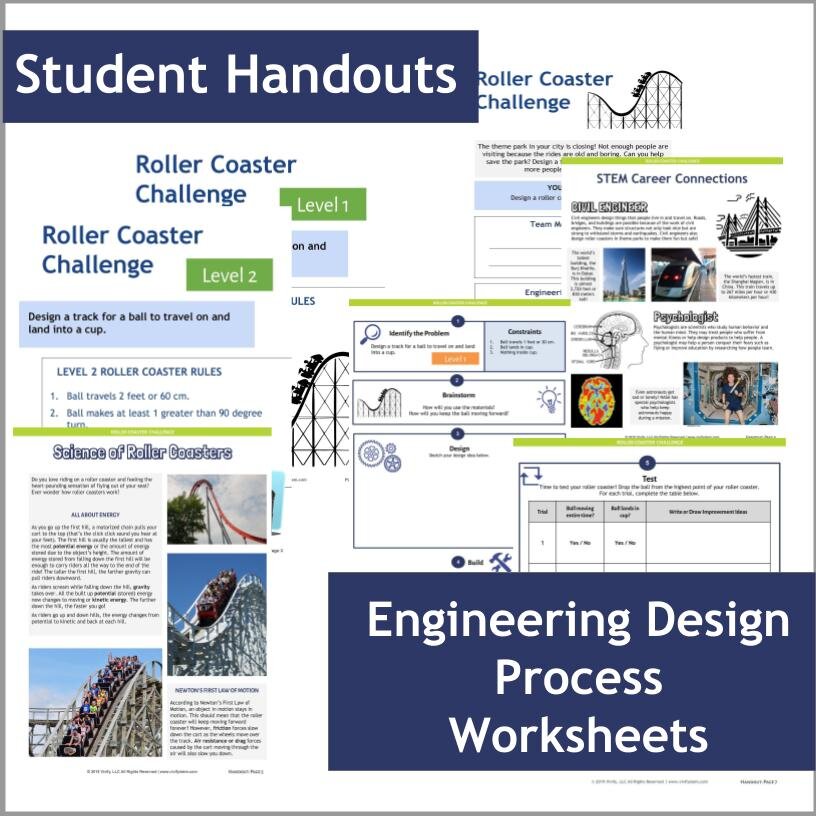
Don’t show any examples to sway their thinking! After an initial idea, provide materials for building. Our Roller Coaster STEM guide includes student handouts to walk them through each step of the engineering design process.
Helpful hints during building:
Don’t provide examples in the beginning. Allow students to explore the materials and struggle with the initial design.
Keep challenging student teams to build taller rides with more twists.
Remind students to test out the track to make sure it’s wide enough for the ping pong ball.
Does the ball fly off the track? Try adding a ledge to keep it on the track or decrease the slope of the track to slow it down.
Does the ball stop? Try increasing the slope of the track.
An optional design constraint is having a minimum-height requirement for the start of the track, such as 8 inches off the ground.
Step 5: Reflection
A STEM challenge should always end in reflection and the sharing of designs. Some great questions to ask:
What were a few challenges in working in teams?
What did you learn about communication?
What materials worked best for your design?
Step 6: Extend the Learning
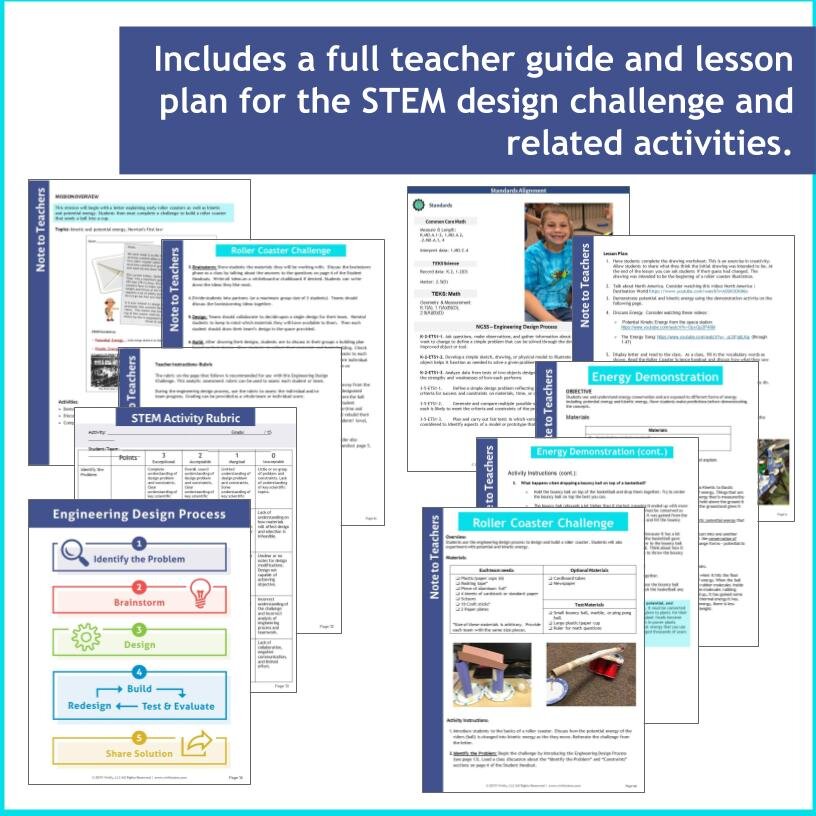
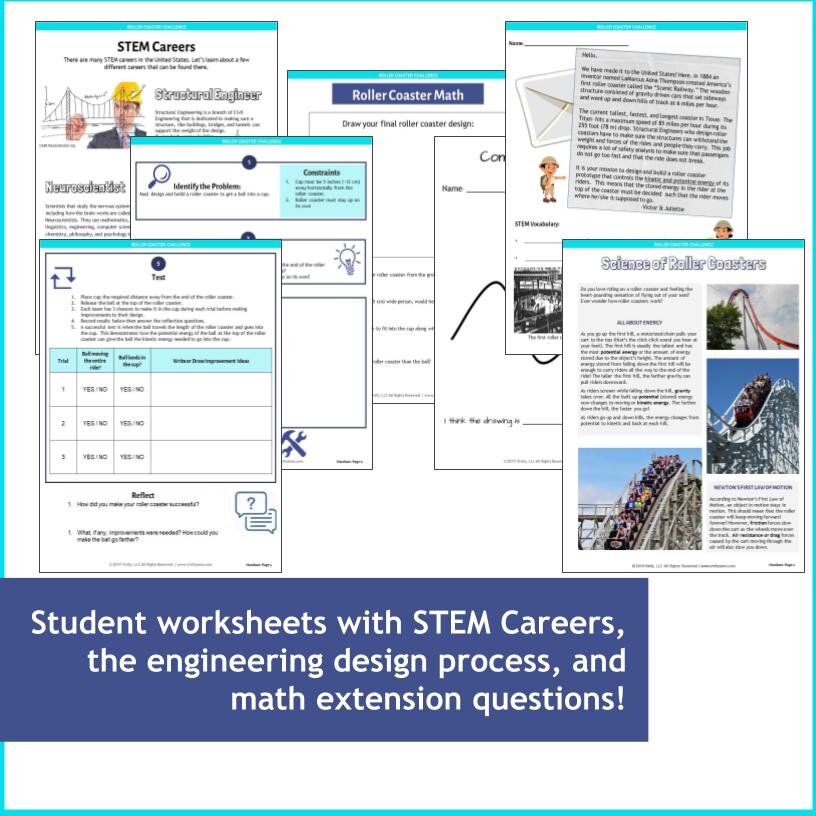
For older students, roller coasters are a great way to discuss potential and kinetic energy. Here is a brief background: As riders travel up the first hill, a motorized chain pulls their cart to the top (that’s the click-click sound you hear at your feet). The first hill is usually the tallest and has the most potential energy, or the amount of energy stored, due to the object’s height. The amount of energy stored from falling down the first hill will be enough to carry riders all the way to the end of the ride! The taller the first hill, the farther that gravity can pull riders downward. As riders scream while falling down the hill, gravity takes over. All the built-up potential (stored) energy now changes to moving or kinetic energy. The further down the hill, the faster you go! As riders go up and down hills, the energy changes from potential to kinetic and back at each hill.
During the STEM activity, have students point out potential and kinetic energy on their own roller coaster designs!
STEM activities don’t need to be boring, and by adding science and math connections, real-world applications, and STEM careers, you’ll create a deeper connection to STEM for kids. As a teacher, this is definitely an activity you can do in an hour, or you could stretch this to a 6-week long project. And as I said, adults love this challenge too, which makes it great for family nights or to showcase at different school events. If your school has a STEM Family Night, ask if your students can participate to show off their roller coaster designs.
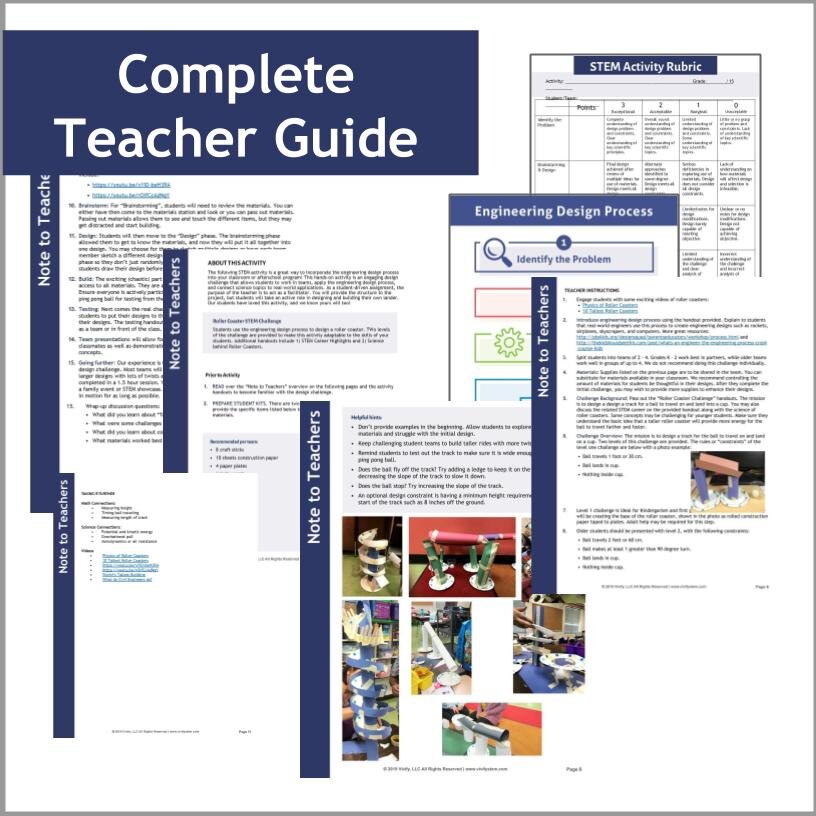
Want to implement this activity in your classroom or program? Check out our full teacher and student STEM guide here and includes student handouts for each step of the engineering design process, tips on adapting the activity from kindergarten to middle school, and student STEM guides to civil engineering, psychology, and the science behind roller coasters.
Looking for a history connection? Check out the United States Roller Coaster STEM Challenge as part of our STEM Explorers Bundle. This activity is one of eight that connect to historical inventions around the world!