
How to Teach Engineering to Kids: The Phases of an Engineering Design Challenge
Post by Dr. Natasha Wilkerson & Claire Meschkat
June 16, 2025
Ready to dive into an engineering design challenge with your students? Whether you’re building bridges, launching straw rockets, or creating roller coasters, how you structure the experience matters.
At Vivify STEM, our engineering design lessons follow five phases that bring purpose and depth to building challenges. In this post, we’ll walk you through each phase, explain the “why” behind the process, and share a free lesson planning template to help you plan your next engineering activity with confidence.

Watch the video below or keep reading to dive into the Phases of an Engineering Design Challenge!

The goal of an engineering design challenge is the application of engineering knowledge and skills. For example, an engineering lesson, as outlined in the phases in the diagram, is not intended for teaching science concepts, but rather deepening understanding through the application to a design problem. Educators will need to use additional lessons to promote engineering foundational knowledge, which is best supported by a team of teachers who have expertise in different topics.
To implement engineering design lessons, Vivify uses the following 5 phases of an engineering design challenge, shown in the image below (you can grab it for free in our Explorer library!).

Note: we see these as phases of a K-12 lesson and not as reflective of engineers' real-world work, which involves a much more complex and context-specific process. Learn more here.
Phases of an Engineering Design Lesson
Let’s explore each phase of an engineering design challenge with our brand-new Design a Car STEM Challenge that is part of our 1st-grade STEM Discoveries bundle!

You can download an engineering design challenge lesson template using this framework in our free library.
Phase 1: Define the Real-World Context
Using media, experiences, or readings, introduce students to the real-world engineering context, including real-world problems, technological solutions, and career connections. The goal is to anchor the challenge to the real-world context.
For the Design a Car STEM Challenge, start with a warm-up: Draw a picture of a car. There is no right or wrong answer here. The goal is to get them thinking about how real cars look, move, and work.
Next, tap into students' prior knowledge with a short class discussion:
When have you been in a car?
What does a car do?
What parts does a car have?
These questions not only ground the lesson in personal experience but also set the stage for understanding the purpose and function of vehicles.
Next, time for a sorting game! Students will sort images of cars to see how they have changed over time. This activity prompts students to notice how technologies change over time while also finding common parts across all cars.

Click the image to graph the free Engineering Foundations poster!
Follow this with a video on a related STEM career - an automotive engineer!
Phase 2: Identify the Design Problem
Now that you have introduced the real-world context, it's time to define the classroom design problem. For younger students, we love to start with a story. This challenge fits perfectly with If I Built a Car by Chris Van Dusen.
After the story, introduce the design challenge to build a car that can safely travel down a ramp. The design criteria include:
Fit two people
Have four wheels
Roll down a ramp in 5 seconds or less
But before students start building, pause to introduce some critical background knowledge that will guide student thinking. If we want students to improve their ability to apply relevant engineering knowledge, we have to explicitly provide it first! That’s where phase 3 comes in.
Phase 3: Brainstorm & Design
Before brainstorming ideas, students need relevant background knowledge to inform design decisions. Provide experiences such as a science investigation that introduce key ideas to help students justify designs. Students then apply this background to brainstorm design ideas.
In this challenge, we have students explore with toy cars to build intuition on how they move and are affected by mass and the angle of the ramp.
Grab a toy car and take it down the ramp! Race another car. What do you notice?
Place cars on ramps of different angles. Which car will reach the bottom first?
Place cars of different weights (or a single car with weight added) on ramps and observe. Which car will reach the bottom first?

Afterwards, have students discuss the parts of their car and compare a toy car to a real car. We also love to show the Let’s Get Rolling video by Physics for Kids:
Phase 4: Build - Test - Evaluate
Students build a model to represent their solution and then test it against criteria. Data is collected to support future improvements. Students solicit feedback and compare solutions with other teams. Students then continue to improve and test their design.
Now is the time to provide access to materials! For this challenge, students will need guidance on the wheel and axle and how to attach them to the chassis. Allow students to make changes as they build and test to continue to improve the design. Make sure to also make connections to the earlier exploration phase to solidify science ideas!

Phase 5: Share & Reflect
Students synthesize learning in an individual or team report that includes a description of their final design justified with data and science connections. Connect the activity back to the real-world with videos and readings, a discussion on practical limitations that would impact their design, and a reflection on how this lesson promotes engineering learning.
We love ending this design challenge with a gallery walk! Students go around and ask classmates about their car designs, any challenges they faced, and ideas for improvement. They also test out other teams’ cars to check against the criteria.
We end with a unit connecting back to the real-world technology of cars and a class discussion on all that we learned about cars!
Middle School Example: Heat Shield Design
What might this framework look like in a middle school classroom? Here is an outline of the Heat Shield Design Challenge from our 8th Grade Engineering the Cosmos bundle.

Real-World Context: Show students NASA’s work on heat shield technology and why this is critical for landing on Mars. Here is a great video.
Identify Design Problem: Design a heat shield to protect your spacecraft and crew. The astronauts are represented by chocolate inside a cup (spacecraft). Teams are limited by the size and weight of the heat shield.
Brainstorm & Design: After exploring and learning about heat conduction, students conduct an experiment to identify which materials are the best at insulating from heat. This data is used to brainstorm an initial design idea.
Build—Test—Evaluate: Students gather materials and build a model. They measure and record the temperature inside and outside the cup. A new redesign challenge is introduced where the maximum weight is cut in half!
Share and Reflect: Students complete a final mission report defending their final design with testing data and connections to relevant science content. They graph the changes in temperature over time and collect additional data to see how the change in the heat shield's surface area impacts the change in temperature. The unit concludes by comparing the class project to the technology of the Orion heat shield.
We hope this Framework for Engineering is a helpful way to implement meaningful learning in your STEM classroom!
Popular Stage 2 STEM Challenges following the new framework:

STEM Discoveries: Students will step into the shoes of engineers as they explore the magic of magnets, uncover how they attract and repel, and design their own magnetic friend!
Grades: 1st - 2nd
Teaching Duration: 3 days
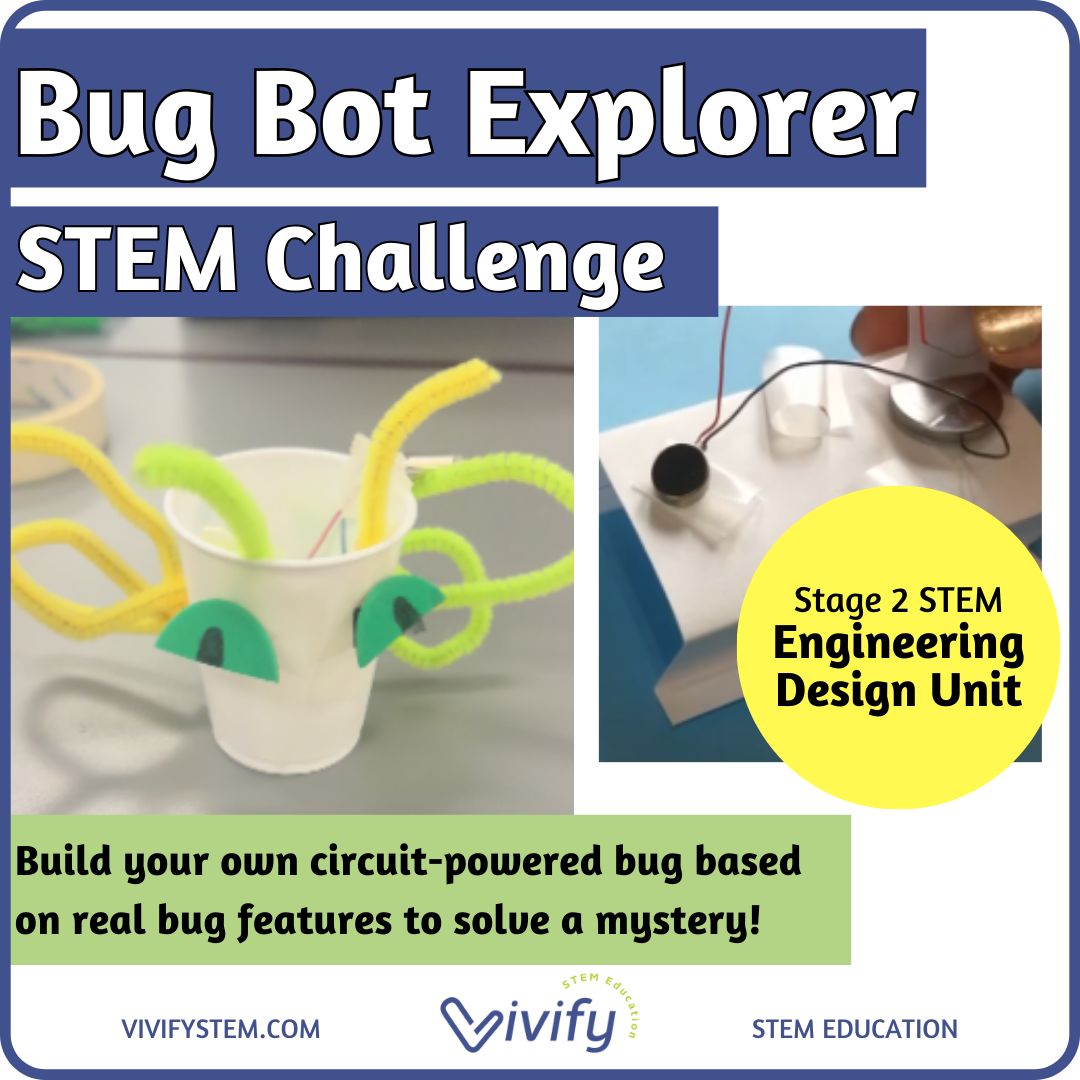
In this hands-on STEM challenge, students design and build a bug to solve a mystery! This unit brings together engineering, life science, and physical science topics for an engaging design challenge.
Grades: 3rd - 6th
Teaching Duration: 2 days
So what do we mean when we reference the Stages of STEM?
To help guide educators and administrators in the implementation of curriculum and development of programs, we propose the following
3 stages of STEM Education.