
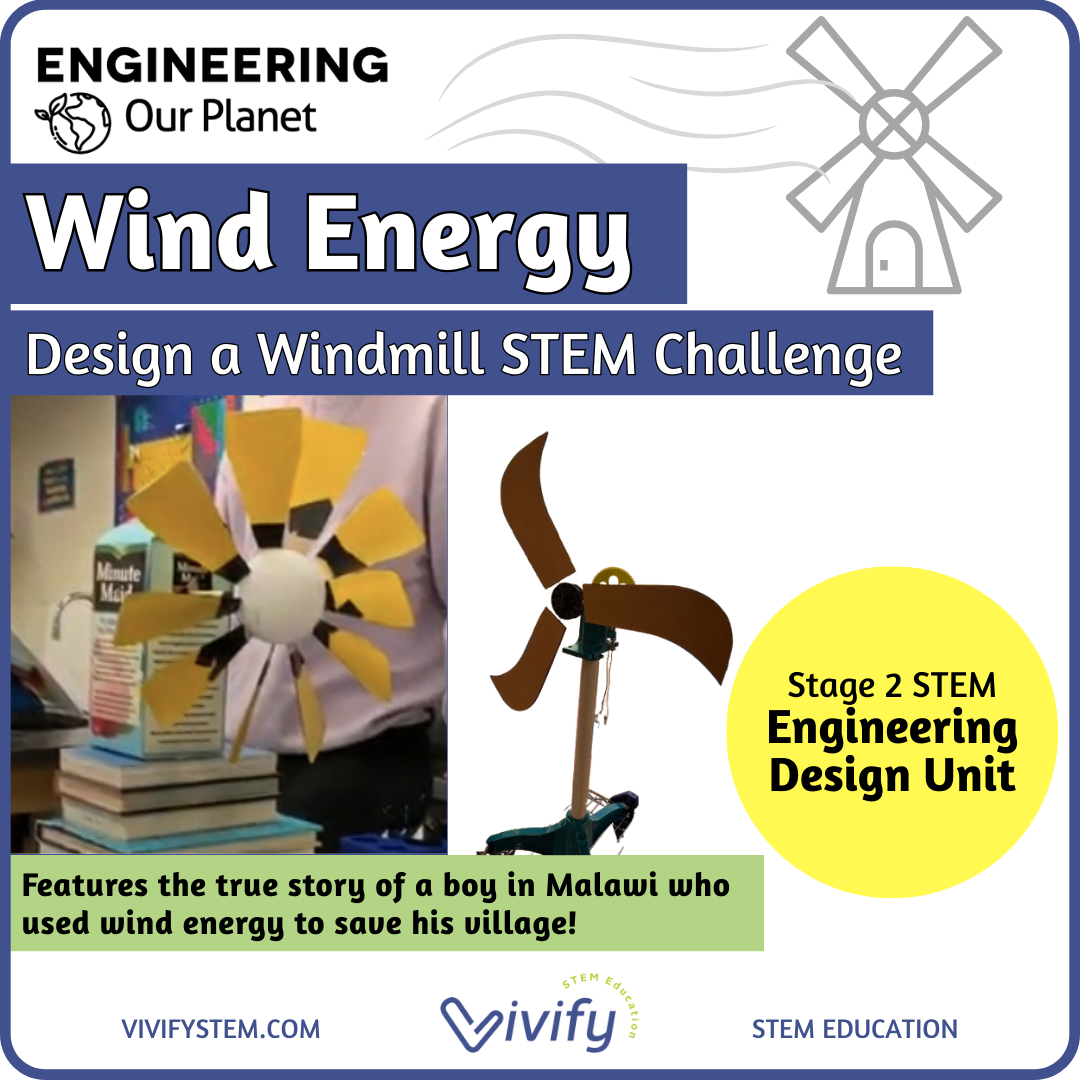
Data Driven Design: Wind Energy Engineering Challenge
Post by Kristina Klammer & Dr. Natasha Wilkerson
Posted: June 27, 2025
What if your students could design a machine powered by nothing but the wind?
Inspired by the true story of William Kamkwamba, a teen from Malawi who built a windmill to bring electricity to his village, this challenge asks students to design and build a wind-powered machine that can lift a weight. But instead of just throwing together materials, we ask students to use data to inform their design! This approach is part of our new Stage 2 Engineering Design lesson template (download here for free).

Click the image to get the guide!
Introduce the Story
Our planet is facing big challenges, from pollution and deforestation to extreme weather and rising seas. We tackle these critical issues with our new Engineering Our Planet series! Students are guided by the fictional character, Ava Rivers, an environmental engineer, world traveler, and problem-solver. Here is the introduction:

Students are guided by the fictional character, Ava Rivers, an environmental engineer, world traveler, and problem-solver. This is the introduction to our Engineering Our Planet series!
Then, students are introduced 14-year-old William Kamkwamba, who watched a severe drought destroy his family’s crops. He decided to turn to his village library for help where a science book sparked an idea. His work inspired the story The Boy Who Harnessed the Wind, which is a great introduction to this design challenge. You can also share William’s TED Talk here.
Identify the Design Challenge
The Mission: Inspired by William Kamkwamba’s windmill that brought electricity and water to his village, your team will explore how wind energy can be used to solve real problems. Your challenge is to design and build a wind-powered machine that can lift a heavy object without using electricity or hands. Like William, you will test, troubleshoot, and engineer a solution using the power of the wind.
Design Constraints:
Powered by wind energy
Lift weight at a height of at least 2 feet
Lift at least _______ grams (this can be modified based on the class)
Data-Driven Design
At this point, STEM educators are likely to give students a sheet of paper, have them draw ideas, and then start building. However, this skips over one very critical step: using background knowledge to inform design decisions.
A quick note—tinkering has its place. Many of our design challenges ask students to try out different designs, collect data, and then use this data to improve the outcome. However, we should recognize that if students do not understand the science behind their design or have no prior knowledge, those sketches or initial builds are just guesses.
It builds perseverance and encourages trial-and-error thinking. But if students don’t understand the science behind their design, those sketches are just guesses. What should they be considering when drawing blades for a wind turbine? Without prior experience, they simply don’t know.
That’s why this lesson begins with scientific inquiry. Students experiment with different blade designs, observe which work best, and analyze the data. They identify key variables that impact windmill performance such as like blade length, number, and angle. Then they use what they’ve learned to sketch individual ideas, justify their choices, and collaborate on a final group design.

A representation of the editable Teacher Slides included with the challenge.
If your class doesn’t have time or materials for full experiments, we’ve got you covered. The challenge includes real-world data and photos from wind turbine blades designed by my own 8th-grade students in our school’s makerspace. Printable flashcards show a variety of blade types and performance results, so students can still build intuition and make data-driven decisions, even without testing themselves.

Comparing Blade Designs
Students analyze pictures of different wind turbine blade designs to identify which variables have the greatest impact on blade performance.
Building & Testing
After brainstorming, students work in teams to build their windmills and test different blade designs to determine which can lift the most weight. We offer two options for this design challenge depending on how complicated you want to make it.
The more complex version is inspired by this TeachEngineering lesson. Check out a video below from my students testing a design:
A simpler variation is inspired by the EiE lesson Designing Windmills. Here are the instructions on how to assemble the base:
Share & Reflect
After the final test, students reflect on their results by answering individual reflection questions and compiling a mission report to justify their final design decisions. They also connect their project to real-world applications by watching videos on the benefits and challenges of wind energy and the evolution of windmill designs. This is a great one:
Tips and Tricks
Here are a few key tips to help your students get the most out of this design challenge:
Use four blades for optimal performance. This number tends to produce the best balance of efficiency and stability.
Encourage documentation. Have students take photos or create design drawings for each prototype to track how changes impact performance.
Use an angle measuring tool. This helps students test how different blade angles affect energy generation.
Focus on teamwork and controlled testing. Rather than each student designing separately, have groups select one design and change only one variable at a time. Students often struggle with this concept, so reinforce the importance of systematic testing.
Address common misconceptions. Students may assume that long, skinny turbine blades (like those seen on real wind farms) are the best design. However, in this experimental setup, wider, more traditional windmill-style blades tend to perform better.
By keeping these strategies in mind, you’ll help students engage deeply with the engineering process while developing a stronger understanding of wind energy concepts.
Vivify’s Wind Energy Challenge Overview
Ready to tackle this project with your students? Grab the full lesson here.
Overview: In this unit, students learn about the true story of William Kamkwamba, a boy from Malawi who built a windmill to save his village during a drought. This inspires the challenge to design and build a wind-powered machine that can lift a weight. After an introduction to windmills and wind turbines, students then test and analyze blade designs to determine which variables (such as shape, angle, and material) impact performance. Throughout the challenge, students are introduced to the role of wind turbine engineers and explore how renewable energy technologies are advancing global sustainability goals.
Engineering Our Planet: Learn about wind energy and harness its power through a hands-on engineering challenge, including building and testing a windmill that lifts a weight.
Grades: 6th - 8th
Teaching Duration: 2 weeks
Engineering Learning Goals in this unit include:
Real-World Connections: Learn the story of William Kamkwamba, who used wind energy to save his village. Learn the role of a wind turbine engineer.
Making: Build a functioning model using common materials that can convert wind into kinetic or electrical energy.
Habits of Mind: Define the criteria and constraints of the engineering problem. Use data to inform design decisions.
Science: Identify wind as a renewable energy source that has benefits and challenges. Recognize the energy transformations in a windmill and a wind turbine. Explore the impact of blade shape, size, and angle on performance.
Technology: Identify and compare the main features of a windmill and a wind turbine. Compare how technologies using wind energy have changed over time.
Math: Calculate the surface area and angle of the blades. Calculate work.
This unit is aligned with the following NGSS Standards and Math Standards for Middle School:
MS-ESS3-3
MS-ETS1-1, MS-ETS1-2, MS-ETS1-3
MS-ETS1-4
MS-PS3-5
6.G.A.1, 6.SP.B.4
Additional Resources
We love these videos about wind energy, energy transfer, and wind turbines:

Can you save the ocean life?
You’ve harnessed the wind, now challenge your students to an oil spill clean-up! Read on for a STEM challenge that teaches environmental consciousness, problem solving, and team work along with extension math problems that use measurement, percentages, and volume calculations. Our students loved this activity, and we think yours will too!